If you recently purchased a printer of any brand or your printer’s wireless connectivity is not working then, you must set up a wireless printer using the below-given step-by-step instructions and learn How to set up a wireless printer.
- Firstly, turn on the wireless network of your printer using the wireless button.
- Go to the setting of the control panel and choose the wireless configuration and click on “OK” using touch.
- Now, select your wireless network and enter the password and then press “OK”.
- Therefore, the printer will automatically verify and after completion of the wireless connection details, you will redirect to the home screen now, the printer installation of wireless has been done so go for another process.
The Process to set up Wireless Software Installation
- Go to the computer and visit the printer’s official setup page through any web browser.
- Then, enter your printer name and number and tap on the “Search” button.
- Select your printer and press the “Download” button for software installation.
- If the downloaded file has been installed on your computer so run that file.
- After completion of the installation, the easy start window wills pop up on your screen.
- Choose the software and press the “Next” button.
- Choose your connection selection so checkbox on “Wireless” and again press the “Next” button.
- Now, enter your location and fill in the administrative credentials and again press “Next”.
- Finally, click on the “Finish” button and your software installation process has been completed.
- Moreover, you can easily complete the setup wireless printer without much more effort.
How to Change the Default Printer Setup?
There are various ways where you can change the default printer setup without much more effort. The default printer setup can easily change with Windows 10, 11, control panel, and printer window option. Let’s see the whole procedure.
Way 1: Steps to Change the Default Printer Setup in Windows 10 & 11:
Windows 10:
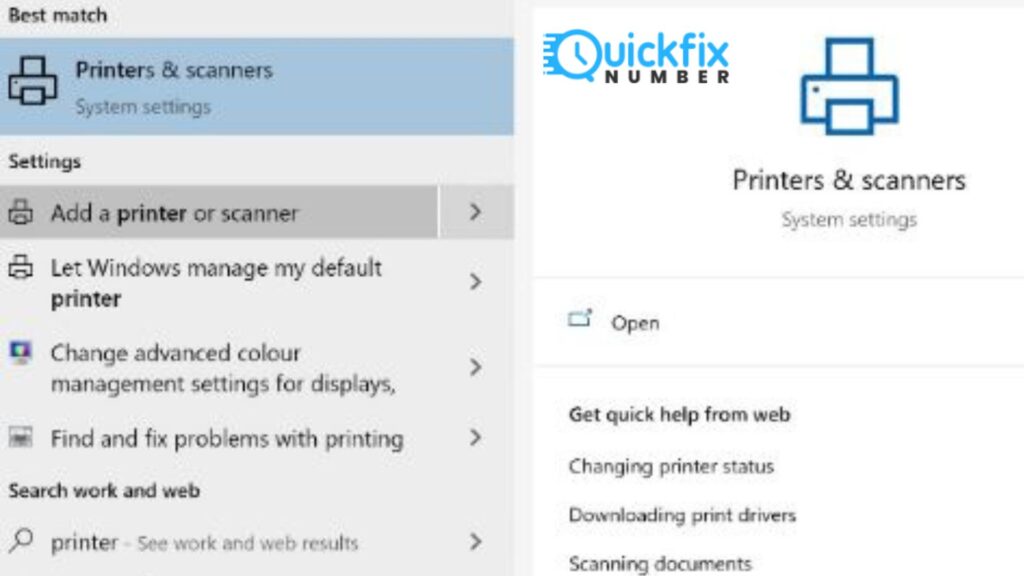
- Just, open the settings options reached there via the Windows icon.
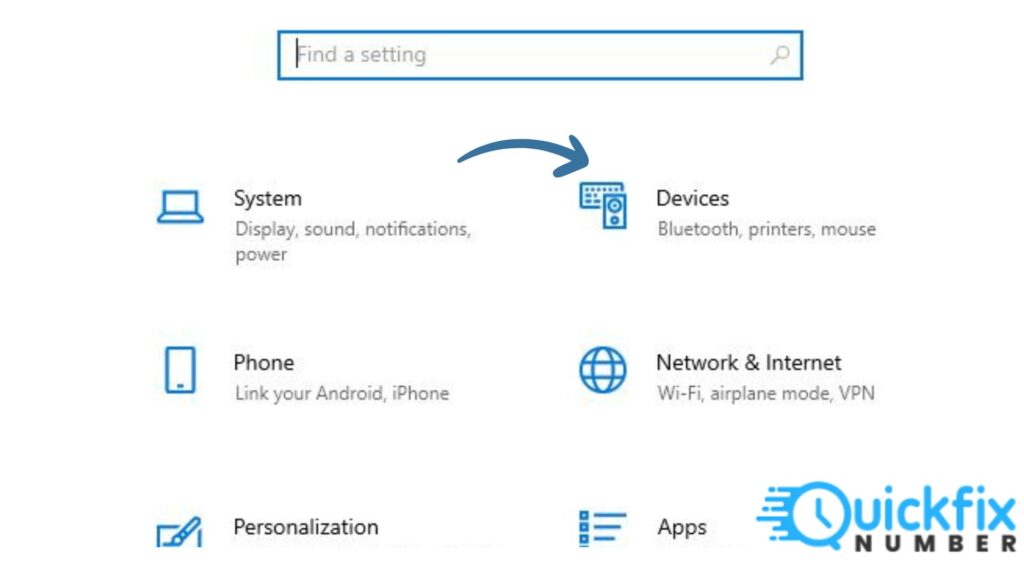
- Then, select the device option
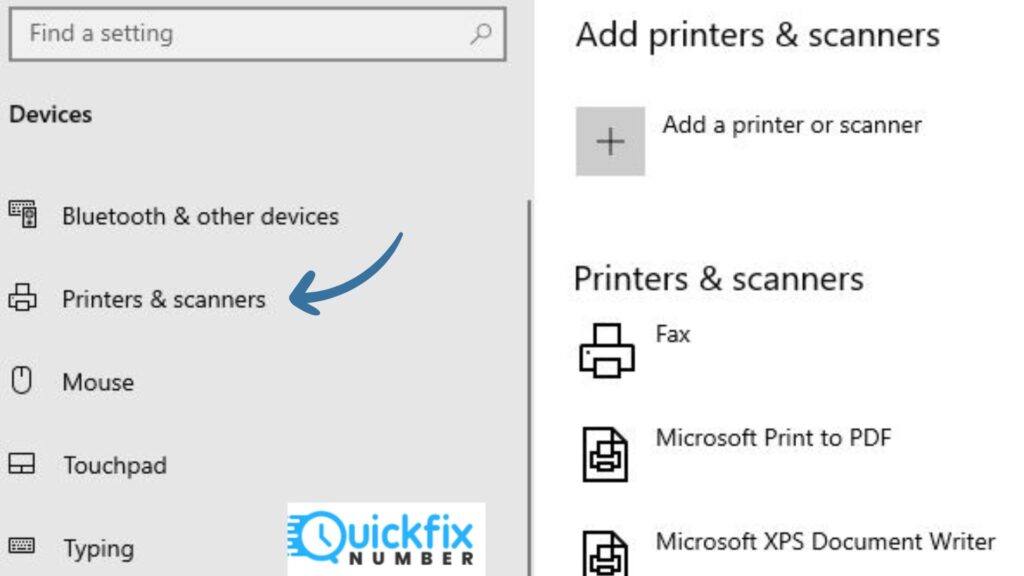
- Now you have to click on the printer and scanner option.
- Now, unchecked on the manage my default printer with Windows.
- Next, press the name of the printer and click on the set as default button.
- Therefore, you can easily change the default printer setup with Windows 10 but, ensure that your printer must be connected to the same wireless network.
Windows 11:
- Open the option of the settings.
- Now, you need to choose Bluetooth and the device option.
- Go to the printer and scanner option and right-click on it.
- Choose my default printer and press the switch-off option.
- Now, press your printer model name & number.
- Choose set as a default button.
- Thus, you may change the default printer setup using Windows 11 but, make sure your printer must and computer must be connected with the same internet connection.
Way 2: Steps to Change the Default Printer Setup in the control panel:
- Press the start or windows icon.
- Select the control panel option from the presented list.
- Then, choose the hardware and sound option.
- Under hardware and sound, you need to choose the view device & printers option.
- Here you must choose your relevant printer model and name and then, right-click on it.
- Select Set a default printer from the list.
Way 3: Steps to Change the Default Printer Setup in the printer window:
- Open your computer and press the Control + P button from the keyboard or keypad.
- Now, you will get a list of printers or single printers.
- Choose your printer model and name and then, right-click on it.
- Then, select the set as a default printer option from the presented list.
- Now, your printer setting will change and after restarting your computer, you will get complete visibility of the default printer setup.
For 123.hp.com/setup you can follow the guide.