Due to the lack of the right knowledge, Dell printer users face lots of difficulties in connecting to the computer, and sometimes, users waste their ample amount of time only on the connection process rather than, any user can connect a Dell printer to a computer within 6 to 7 minutes. Here you will get the various ways to connect your Dell printer to the computer. If you are using a wired dell printer so you can connect through a USB cable or if you are using a wireless printer so you can directly connect to the wireless network. For better understanding, you must follow the below-given methods and learn how To Connect Dell Printer To Computer.
Method to connect Dell Printer to computer
Here you will get the complete steps for the Dell wireless & wired printer connecting method to the computer. Just, follow the below-pointers.
Method 1: Process to Connect Dell Printer to Computer via USB cable
- Place your Dell printer close to your computer. Ensure that, that it is near enough that the USB cable can easily connect to your computer without forcing it.
- Plug in the Dell printer cable into the electric outlet. Now hit on the power button.
- This is the right time to connect the USB cable between the computer & Dell printer. Make sure, you have checked the USB cable as well as you must check the quality of the USB cable.
- After plug-in in the USB cable between the Dell printer & computer, the USB cable will start the automation process of the setup & install the printer properly.
- Now, you need to press the Windows icon or start menu.
- After then, select the settings and then, select the device & printer option.
- Now, you need to choose the printer & scanner option.
- Tap on the add a printer & press the name of the printer.
- Enter your printer name & follow the display instruction.
- Now, click on the print option.
- Therefore, the process to Connect Dell Printer to Computer has been completed and you can start printing.
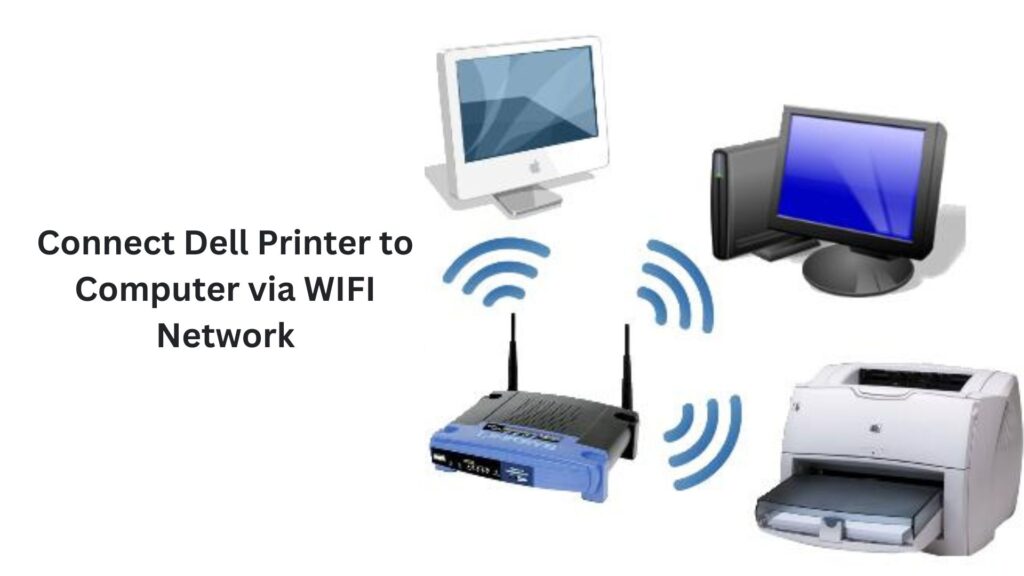
Method 2: Process to Connect Dell Printer to Computer via WIFI Network
Before starting the connection process, you must check your Wireless setup configuration because if that will not work then, you will not be able the print as well as you must check the actual speed of your internet. If everything is going smoothly then, follow the below-given process to connect the Dell printer to the computer through the wireless network.
- Turn on the wireless button and click the settings on the display of the printer control panel.
- Select the network setting under the wireless section.
- Enter the network password to connect with it.
- Ensure that, your computer and printer are using the same wireless network.
- Now, go to the control panel of your computer and select the device & printer option.
- Then, choose printer & scanner and click on the add printer option.
- Enter your Dell printer name & model in the text box.
- Finally, hit on the Save button and now you are done!